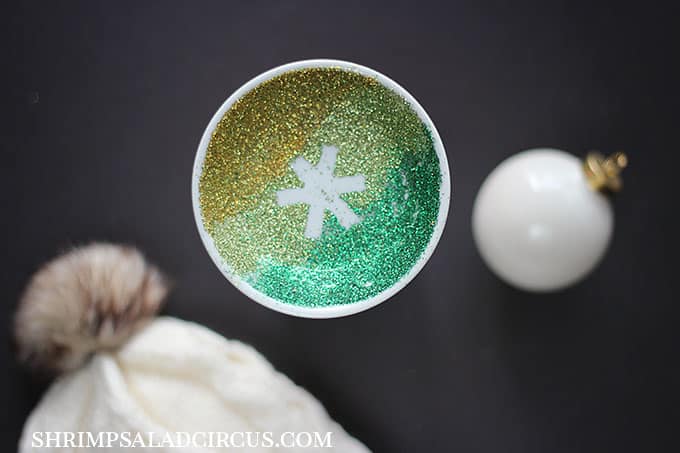
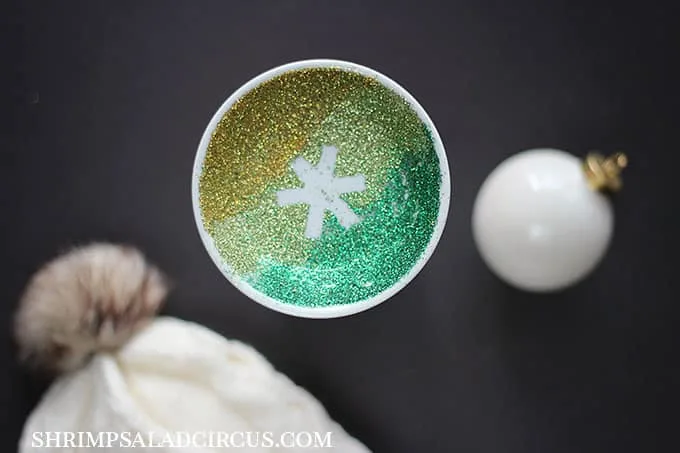
There’s nothing better than the combination of glitter and Mod Podge – use it to create this pretty snowflake trinket dish for winter!
Happy Thursday, you guys! This is Lindsay from Shrimp Salad Circus, and I’ve stopped by to share a fun holiday trinket dish tutorial with you. I love Amy and Mod Podge Rocks because there are few craft supplies so versatile!
I’ve made flip flop coasters for summer, glimmery pumpkins for fall, and a beautiful way to display my wedding photos. Today I want to share a holiday project because I’m all about the lights, snowflakes, evergreen, and wintery goodness this year!
I have a massive stash of tiny little dishes that I use in my shop, so it felt like a perfect opportunity to use one for a bright, vibrant holiday design. Plus, we all love a healthy dose of glitter, right? ;D
This trinket dish design incorporates a modern “snowflake” with an ombre glittery effect for a dazzling finish!


Glitter Trinket Dish
What You Need:
- Shallow bowl (like these sauce dishes)
- 2 – 3 coordinated colors of fine glitter
- Thin washi tape
- Mod Podge Gloss
- Paintbrush

1. For this project to last through the years of holidays, you’ll want to scuff up the surface of the dish with fine sandpaper or even a nail file.
The first thing to do to ensure that everything sticks well and lasts a long time is to clean your little dish thoroughly with soap and water or rubbing alcohol. Let it dry thoroughly, and then you can begin!
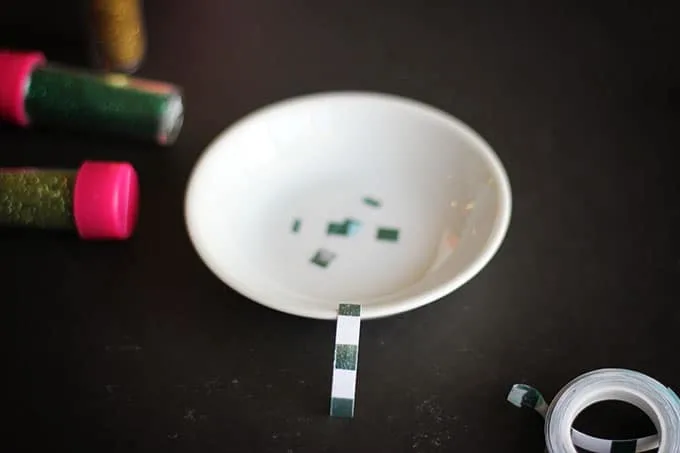
2. Use scissors to cut strips of washi tape about an inch long. You want three different strips.
*If you don’t have a thin tape, you can just cut regular tape in half lengthwise.
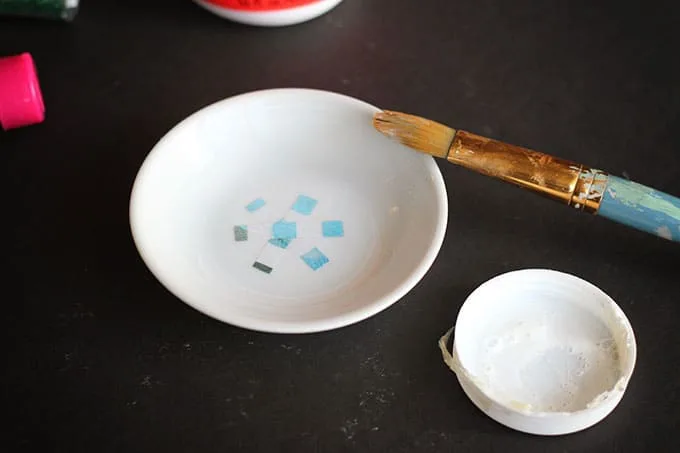
3. Firmly press the tape onto the center of the dish in the shape of an asterisk. Smooth down all the edges, and make sure nothing’s peeling up anywhere!
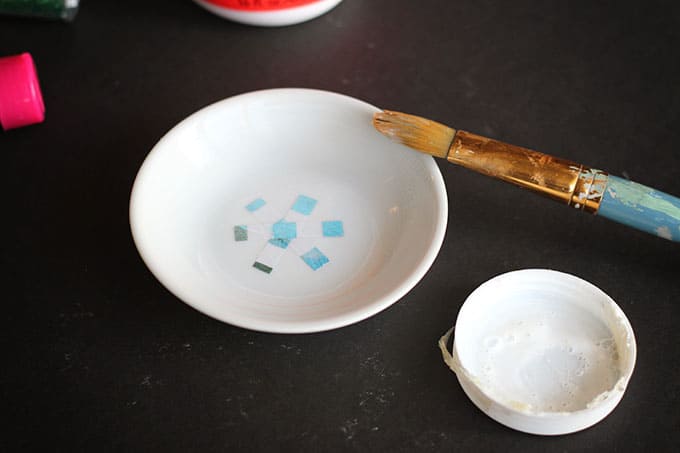
4. Brush a thin layer of the Mod Podge all over the surface of the dish, including the taped design area, being sure to get the Mod Podge into all the corners of the “snowflake.”
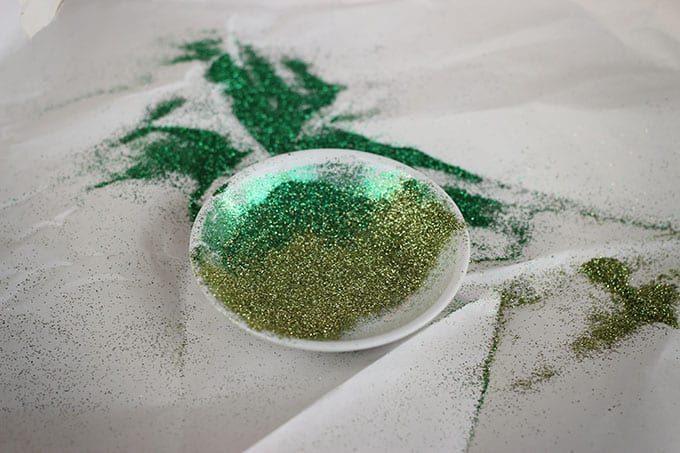

5. Sprinkle your first color of glitter generously starting at one side of the dish. Use gradually less as you work in toward the center so that the next color of glitter blends in nicely.
6. Moving quickly, pour on your second glitter, using a light amount over the edge of the last color and getting heavier as you work in. Add a third color the same way.
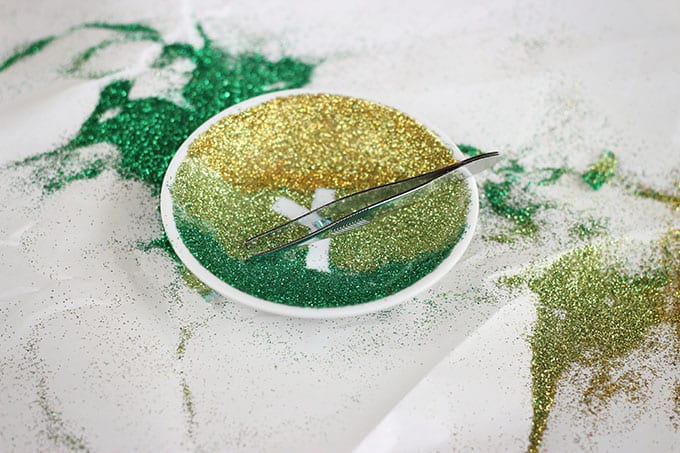

7. Set the trinket dish aside to dry for an hour or so, and then very carefully peel up the washi tape. You should have a blank snowflake in the middle of the field of glitter.

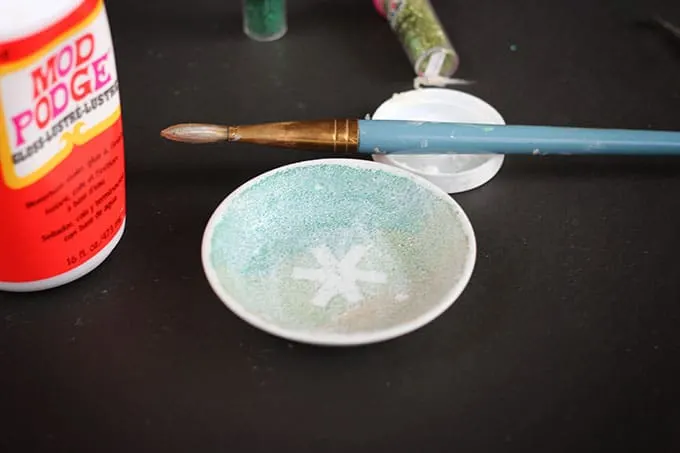
8. Brush another thin layer of Mod Podge over the whole surface — glittered area and snowflake. Set it aside to dry overnight, and you’re done!!
You can leave this trinket dish sitting out for little candies, holiday jewelry, a catchall for your keys — whatever you can think of! Thanks so much for crafting with me today. If you make this project, share pictures with me on social media!
If you enjoyed this tiny dish makeover, I’d love for you to check out these other related projects: